Mapping the Route for a Three-Legged Pit Bull
Bringing a rescue dog into your life requires the logistical precision of a stage manager preparing for opening night. Evaluating your readiness for a tri-pawed Pit Bull demands a strict route-planning mindset. Trace exactly how the dog will move from the front entrance to their water bowl, feeding station, sleeping quarters, toileting area, and family spaces. Identify precisely where traction materials or human assistance will be necessary. Separate your emotional confidence from your practical capacity by asking who can handle the daily walks, veterinary transport, and lifting support on an ordinary workday.
Complete this movement audit during both daytime and evening lighting. Glare on polished floors and dim stair edges create entirely different footing problems depending on the hour. Shadows can obscure transitions between carpet and hardwood, causing a dog with altered balance to misjudge their step. Set aside a 7- to 14-day preparation window before the homecoming date for rug installation, furniture rearrangement, and an initial veterinary appointment. That buffer lets you finish adapting the space before the dog walks through the door, so the first days stay calm.
Choreographing Safe Movement Across Slick Floors
A missing limb fundamentally alters a dog's biomechanics—a missing front limb shifts more braking and weight-bearing demand rearward. A missing hind limb changes propulsion. Unsecured rugs and furniture jumps add avoidable instability to an already complex balancing act. Prioritize your environmental modifications according to fall consequence. Cover turning points and landing zones first, then address long straight passages.
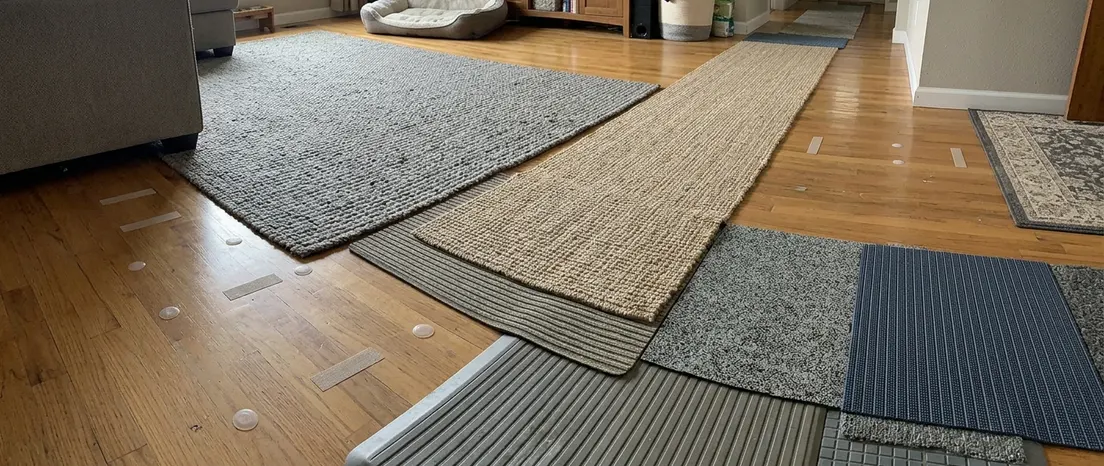
Map an uninterrupted traction path between the exterior door, the feeding station, the primary bed, and the preferred family room. Runners must lie flat, resist movement at the corners, and be wide enough for the dog to turn without stepping onto bare flooring. Install carpet treads across the full usable width of each required stair and place a secured landing mat at both ends. Check rug edges, tread adhesion, and ramp movement every seven days during the first month. The precision required here mirrors the stage blocking in a high-energy production like the Book of Mormon; every step must land on a secure, predictable mark.
Stage-Ready Traction Standards: Break the homecoming route into braking zones, turning zones, stair landings, furniture-launch points, and rest stations for the tri-pawed Pit Bull.
Reading the Gait During the Initial Shelter Introduction
Begin your shelter visit with medical records before moving to physical exercise. Ask the staff which limb was removed, why the amputation occurred, the exact surgery date, whether the incision is fully closed, and what medications or activity restrictions remain. Request the veterinary notes covering the amputation, incision checks, pain medication changes, and the body-weight trend. Ask for any examination or imaging records of the remaining shoulder, elbow, hip, stifle, and spine. Inquire whether touch near the healed site triggers flinching, guarding, licking, or sudden turning.
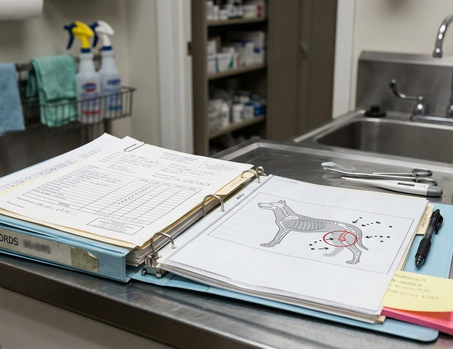
Once the paperwork is clear, watch the dog rise, start, stop, turn in both directions, and recover after a brief walk. Let the rescue staff set the pace to keep excitement from masking fatigue. Use an initial walking observation of roughly 5 to 10 minutes on a level, high-traction surface. Stop earlier for panting that does not settle, repeated stumbling, reluctance to continue, or persistent weight shifting.
Treat a cheerful five-minute shelter walk as a preliminary gait observation. A short burst of energy rarely guarantees the dog can manage polished floors, repeated stairs, or a full rehearsal-length day at home. Shelter veterinary records give you a baseline, but early mobility assessments often underestimate long-term joint fatigue. A dog still under postoperative restrictions cannot show you settled gait or stamina during a meet-and-greet. Use the shelter veterinarian's written limits and arrange a reassessment after the prescribed healing interval.
Funding Long-Term Joint Health and Accessibility
Build the care budget in distinct layers. Start with immediate access equipment, add recurring weight and joint care, and establish a reserve for rehabilitation or mobility decline. Before adoption, budget for at least one supportive bed large enough for the dog to lie fully on either side. Include one correctly fitted lifting harness, secured floor traction, and transport that avoids an unsupported jump.
Base your supplement and diet lines directly on the veterinarian's dose for the dog's measured weight. Price professional services by asking local clinics for written examination, therapy, and hydrotherapy fees. Review body weight and harness fit every 4 to 6 weeks during the first three months. Place veterinary reassessment, bed-condition checks, and rehabilitation estimates on a 6- to 12-month planning calendar. Budgeting early gives you room to stay ahead of osteoarthritis and joint stress across the dog's lifetime.
Measure and Secure Your Floor Plan Before Applying
Turn the final adoption decision into a measured floor plan. Walk the exact route the dog will use. Mark every bare-floor break and sharp turn. Record the length and width of every uncovered segment between the entrance, water bowl, bed, toileting exit, and main gathering space. Include a turning area at doorways to accommodate their wider turning radius. Purchase your traction materials before filing the application. Install and test the traction route 24 to 72 hours before homecoming so curled edges, sliding mats, blocked doors, and unstable transitions can be corrected while the space is still empty. Test each rug and mat with a firm sideways push.